Fresh pasta makes a difference, better texture, cleaner flavor, and that satisfying chew dry pasta can’t match. But rolling and cutting dough by hand takes time and develops forearm muscles most people don’t need. The KitchenAid mixer pasta attachment turns an appliance most homeowners already own into a pasta production line. If you’ve got counter space for a stand mixer, you’ve got room for fresh fettuccine, spaghetti, or rigatoni without the workout. This guide covers what these attachments do, which type fits your needs, and how to use and maintain them so they last as long as your mixer does.
Table of Contents
ToggleKey Takeaways
- A KitchenAid mixer pasta attachment converts your stand mixer into a pasta production line by using the power hub to roll or extrude dough into various pasta shapes without manual labor.
- The two main types are roller attachments for flat ribbons (fettuccine, spaghetti) and extruder attachments for tubular shapes (penne, rigatoni), with the roller set being more versatile for most home cooks.
- Proper dough consistency is critical—use semolina or tipo 00 flour with a 50–55% hydration ratio, rest for at least 30 minutes, and roll gradually through thickness settings to avoid tearing.
- Never immerse pasta attachments in water; instead, let dough dry completely, brush away residue with a dry brush, and wipe with a damp cloth only when necessary to prevent rust and corrosion.
- Fresh pasta cooks in just 2–4 minutes and should be matched to the right sauce—flat noodles for creamy sauces, tubular shapes for chunky sauces—and always reserve pasta water to help emulsify your sauce.
- The KitchenAid pasta attachment removes the manual rolling challenge, making fresh homemade pasta accessible and improving in quality with each batch you prepare.
What Is the KitchenAid Pasta Attachment and How Does It Work?
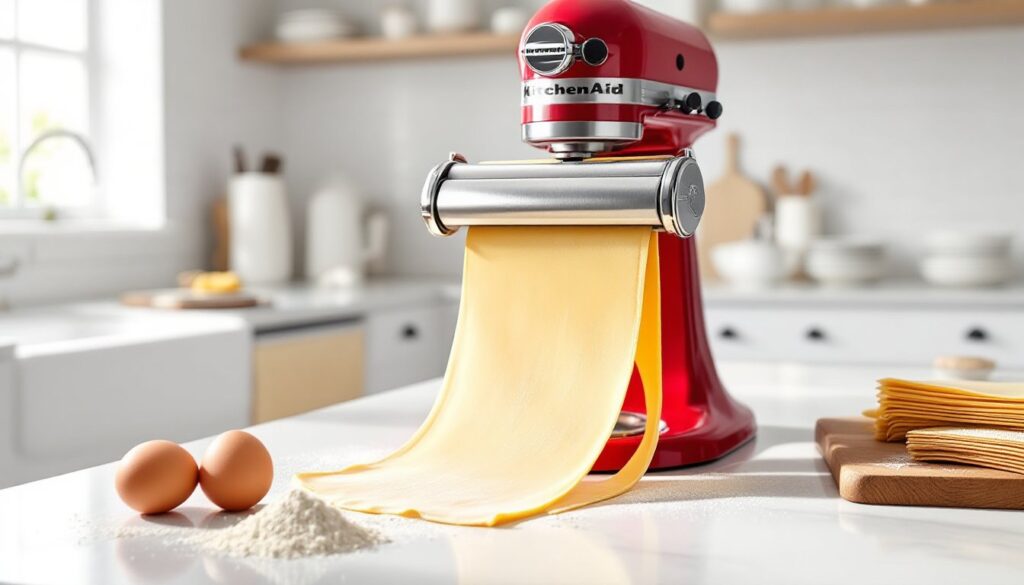
The pasta attachment kitchenaid mixer uses the power hub on the front of KitchenAid stand mixers to roll or extrude dough into various pasta shapes. Instead of hand-cranking a separate pasta machine or feeding dough through a manual roller, the attachment connects directly to the mixer’s motor.
There are two main mechanisms:
Roller attachments flatten dough into thin sheets, then cut it into ribbons (fettuccine, spaghetti, angel hair). The process mimics traditional Italian pasta-making: flatten, fold, flatten again, then slice.
Extruder attachments push dough through shaped dies to create tubular or filled pastas like penne, bucatini, macaroni, or rigatoni. The motor does the heavy pushing: the die shapes the pasta as it exits.
Both types attach to the power hub with a single pin that locks into the drive socket. Once secured, the mixer’s speed control determines how fast dough feeds through. Most pasta work happens at speed 2 or lower, too fast and the dough tears or the motor strains.
These attachments work best with semolina or tipo 00 flour dough that’s been rested. Sticky, wet dough clogs the rollers: overly dry dough crumbles. The sweet spot is dough that holds together without leaving residue on your hands, usually a hydration ratio around 50–55% (about 1 egg per 100 grams flour, or equivalent liquid).
Types of KitchenAid Pasta Attachments Available
KitchenAid makes two categories of pasta attachments, each with distinct use cases. Choosing the right one depends on which pasta shapes you plan to make most often.
Roller and Cutter Set
The 3-Piece Pasta Roller & Cutter Set (model KSMPRA) is the most popular option for ribbon pastas. It includes:
- A roller that adjusts from 1 to 8 settings (thickness from about 4.7mm down to 0.6mm)
- A fettuccine cutter (6.5mm-wide ribbons)
- A spaghetti cutter (2mm-wide ribbons)
You run dough through the roller multiple times, decreasing thickness with each pass. Once the sheet reaches your target gauge, you swap to a cutter attachment and feed the sheet back through to slice it.
This system gives you control over thickness and works for lasagna sheets, ravioli wrappers, and hand-cut shapes like pappardelle (just use a knife after rolling). The best KitchenAid attachments tested by home cooks consistently rank the roller set highly for reliability and versatility.
Pros:
- Produces traditional Italian flat pastas
- Adjustable thickness for delicate or hearty noodles
- Dough can be folded and re-rolled for better gluten structure
Cons:
- Requires multiple passes (rolling, then cutting)
- Not suitable for tubular or extruded shapes
- Takes more counter space during use (you need room for long sheets)
Extruder Attachment
The Gourmet Pasta Press (model KSMPEXTA) pushes dough through interchangeable dies to form shaped pastas. It ships with six plates:
- Spaghetti (2mm round)
- Bucatini (hollow spaghetti)
- Rigatoni
- Small and large macaroni
- Fusilli
Additional die sets are sold separately for shapes like penne, linguine, and filled pasta tubes.
Dough goes into a hopper at the top. As the mixer turns, an auger inside the housing forces dough through the die. You cut strands to length with the included wire or a knife as they emerge.
This attachment handles stiffer doughs better than the roller and produces shapes the roller can’t touch. It’s faster for batch work, once the hopper is loaded, pasta extrudes continuously until it’s empty.
Pros:
- Makes tubular and ridged shapes impossible to roll
- Faster for high-volume production
- Easier cleanup (fewer pieces than the roller set)
Cons:
- Less control over thickness
- Extruded pasta texture differs from rolled (slightly denser, less delicate)
- Dough must be firm enough to push through: very soft doughs jam the auger
For most home cooks, the roller set is the more versatile starting point. If you prefer short pastas, baked pasta dishes, or want speed over tradition, the extruder fits better.
How to Use Your KitchenAid Pasta Attachment: Step-by-Step
Using the pasta maker for kitchenaid mixer isn’t complicated, but dough prep and attachment setup matter.
1. Prepare the dough.
Mix flour and eggs (or water for eggless dough) until just combined. Knead for 8–10 minutes until smooth and elastic. Wrap in plastic and rest for 30 minutes minimum at room temperature. Rested gluten is easier to roll and less prone to tearing.
2. Portion the dough.
Cut into golf-ball-sized pieces. Flatten each piece slightly by hand so it fits into the roller or hopper opening. Keep unused portions covered to prevent drying.
3. Attach the roller or extruder to the power hub.
Align the pin with the hub socket and twist the attachment clockwise until it locks. The mixer should be off during attachment.
4. Set the mixer speed.
Start at speed 2 for rolling: speed 4–6 for extrusion. Slower speeds give you more control and reduce motor strain.
For roller attachments:
- Set the roller to the widest setting (1).
- Feed a flattened dough piece through. It may look rough, this is normal.
- Fold the dough in thirds, flatten, and roll again on setting 1. Repeat 3–4 times until the dough is smooth and rectangular.
- Increase thickness one setting at a time, rolling once per setting, until you reach your target (usually 5 or 6 for fettuccine, 7 or 8 for delicate sheets).
- Dust lightly with flour if dough sticks.
- Swap to a cutter attachment and feed the sheet through to slice.
For extruder attachments:
- Load dough pieces into the hopper.
- Turn on the mixer and let the auger draw dough through.
- As pasta emerges, cut to desired length (4–6 inches for most shapes).
- Lay cut pieces on a floured surface or drying rack.
5. Dry or cook immediately.
Fresh pasta cooks in 2–4 minutes in boiling salted water. To store, let it dry on a rack for 1–2 hours, then refrigerate in a sealed container for up to 2 days or freeze for up to a month.
Cleaning and Maintaining Your Pasta Attachment
Pasta dough leaves behind starchy residue that gums up rollers and dies if not cleaned properly. Do not immerse the pasta attachment in water or run it through the dishwasher. The metal parts will rust or corrode.
After each use:
- Let the attachment dry completely. Dough bits harden and brush off more easily when dry. Wait 1–2 hours.
- Brush away dried dough. Use the included cleaning brush or a dry toothbrush to sweep out rollers, cutters, and die holes. For stubborn bits, a wooden toothpick works without scratching.
- Wipe metal surfaces with a dry cloth. Remove any flour dust or residue. If oil or egg is visible, dampen the cloth slightly, just enough to clean, not soak.
- Store in a dry place. Keep attachments in their original boxes or a sealed bag to prevent dust buildup.
Deep cleaning (every 10–15 uses):
- Disassemble removable parts (rollers, cutters, dies).
- Wipe each piece with a cloth dampened with warm water.
- Dry immediately and thoroughly with a towel.
- Apply a light coat of food-grade mineral oil to metal parts to prevent oxidation. Wipe off excess.
Do not use soap or detergent. Residue can transfer to dough and affect flavor. If you must wash a part, rinse with plain water and dry aggressively.
Troubleshooting common issues:
- Dough sticks to rollers: Dust dough lightly with flour before each pass.
- Pasta tears during rolling: Dough is too dry. Knead in a few drops of water and rest again.
- Extruder jams: Dough is too wet or soft. Add more flour and knead until firmer.
- Uneven cuts: Cutter blades may have dough buildup. Brush thoroughly and dry.
Tips for Perfect Homemade Pasta Every Time
Fresh pasta rewards attention to detail. Small tweaks to technique make a noticeable difference in texture and handling.
Use the right flour. Tipo 00 flour (finely milled Italian flour) produces silky, tender pasta. Semolina flour creates firmer, toothier noodles that hold up in baked dishes. All-purpose flour works but yields a slightly heavier texture. For kitchenaid mixer pasta attachments, tipo 00 is the most forgiving.
Rest the dough. Gluten needs time to relax after kneading. Rested dough rolls smoother, tears less, and produces more uniform sheets. Thirty minutes is the minimum: an hour is better. Refrigerate for longer rests, but bring to room temp before rolling.
Keep everything floured, lightly. Dust the rollers, the dough, and your work surface with flour or semolina. Too much flour makes the dough dry and chalky: too little makes it stick. A light, even coating is the goal.
Roll gradually. Don’t jump from setting 1 to 6. Increase one number at a time. Rushing stretches the dough unevenly and causes tears.
Cut pasta to fit your pot. Long sheets are dramatic but impractical in small pots. Cut fettuccine or spaghetti to 10–12 inches for easier handling and more even cooking.
Dry or nest fresh pasta. If not cooking immediately, either drape it over a rack to dry or toss cut strands with a bit of flour and twist into loose nests. Stacked, undried pasta will fuse into a gummy block.
Cook in plenty of salted water. Fresh pasta releases more starch than dried. Use at least 4 quarts of water per pound, salted generously (about 1 tablespoon per quart). This prevents sticking and seasons the pasta as it cooks.
Save pasta water. The starchy liquid emulsifies sauces and helps them cling to noodles. Reserve a cup before draining.
Match pasta shape to sauce. Flat noodles like fettuccine suit creamy or butter-based sauces. Tubular shapes like rigatoni catch chunky tomato or meat sauces. The ridges and holes in extruded pasta shapes grip sauce better than smooth surfaces.
Don’t rinse cooked pasta. Rinsing washes away the starch that helps sauce adhere. Drain and toss immediately with sauce.
Experiment with flavored doughs. Add spinach purée, beet juice, squid ink, or tomato paste to the dough for color and subtle flavor. Reduce liquid slightly to compensate for added moisture.
Fresh pasta isn’t a difficult project, but it’s one that improves with repetition. The first batch might be uneven or stick a little. By the third or fourth, the process becomes intuitive, and the results rival anything from a specialty shop. Kitchenaid mixer pasta attachments remove the hardest part (manual rolling) and leave the fun: turning flour and eggs into something you can’t buy at the store.